How to Install Steam on Linux Mint

This guide is also available as a video if you find video instructions easier. You may alternatively watch on YouTube with ads. The written guide is below.
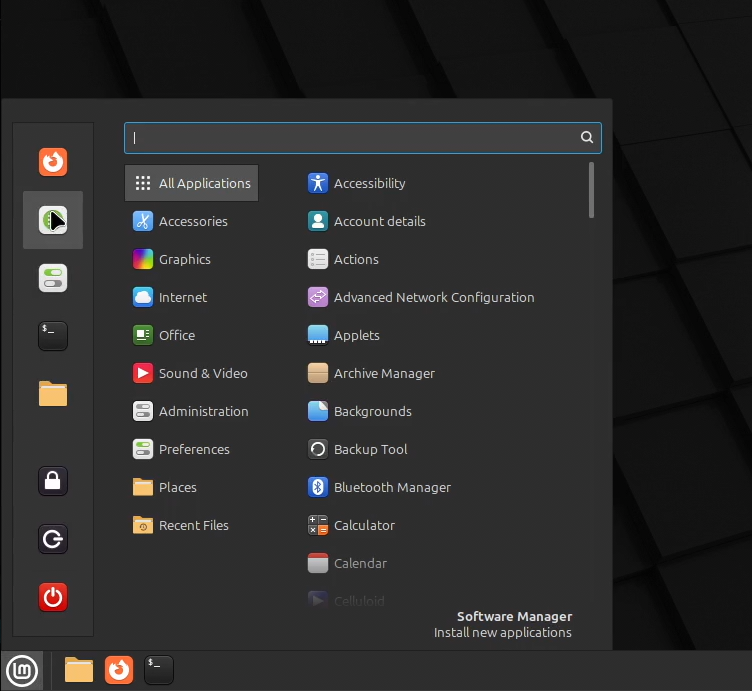
Open the Software Manager from the menu, which can be opened using the icon in the bottom left corner of the screen. You can also open it with the Meta key on your keyboard.
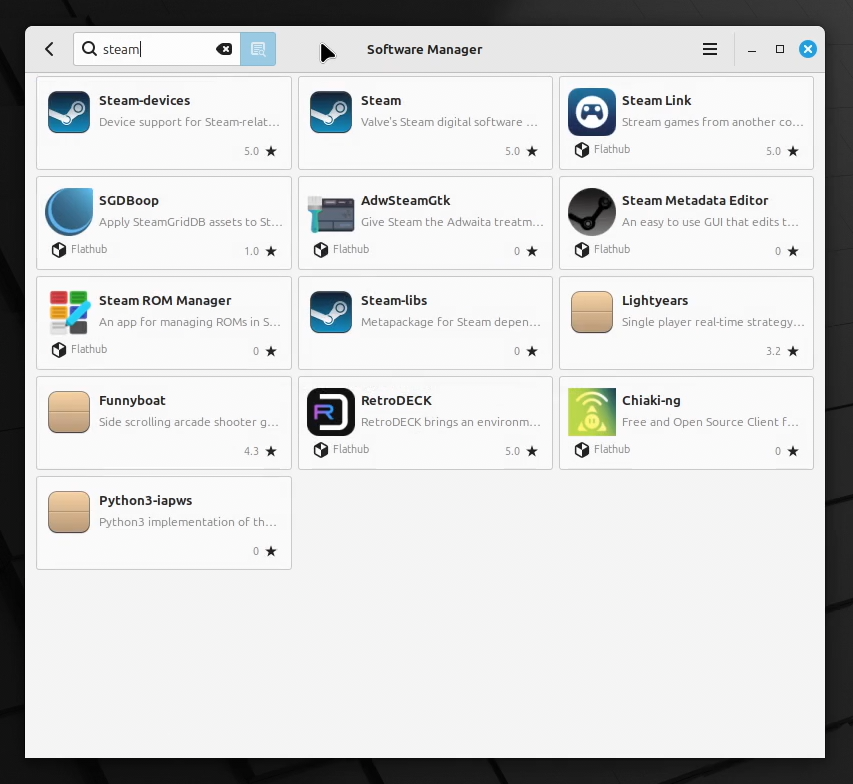
In the search bar at the top of the Software Manager, type in Steam.
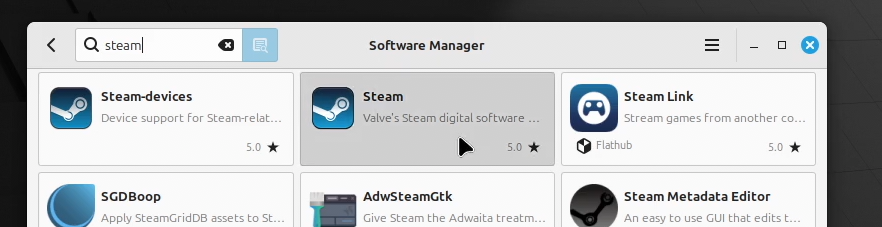
Select the entry with the title Steam.
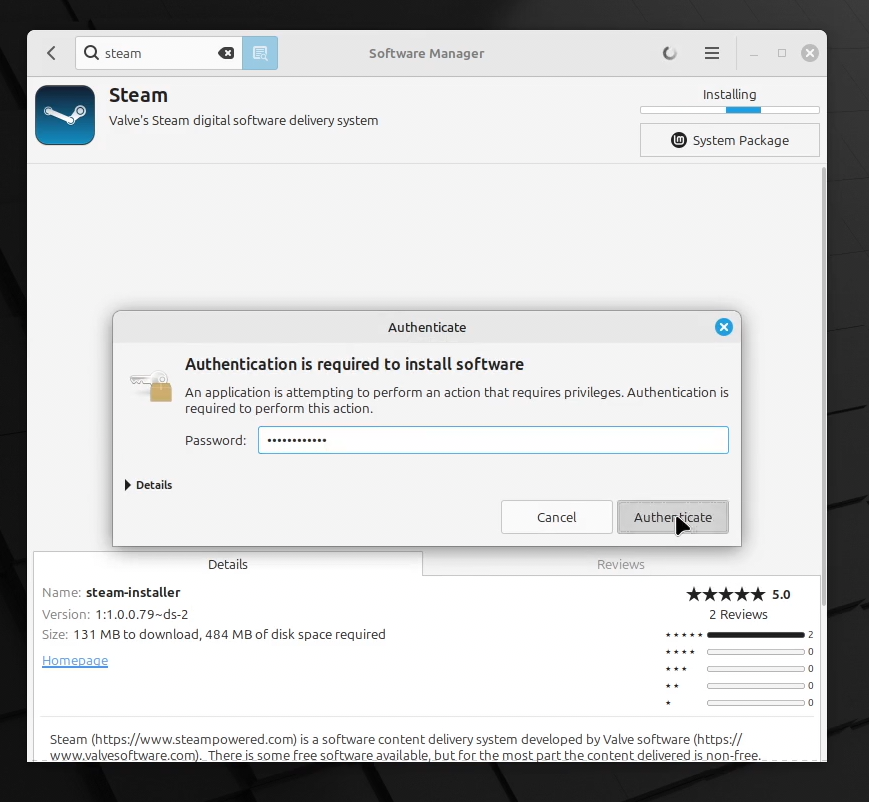
In the details pane, verify that the name is steam-installer.
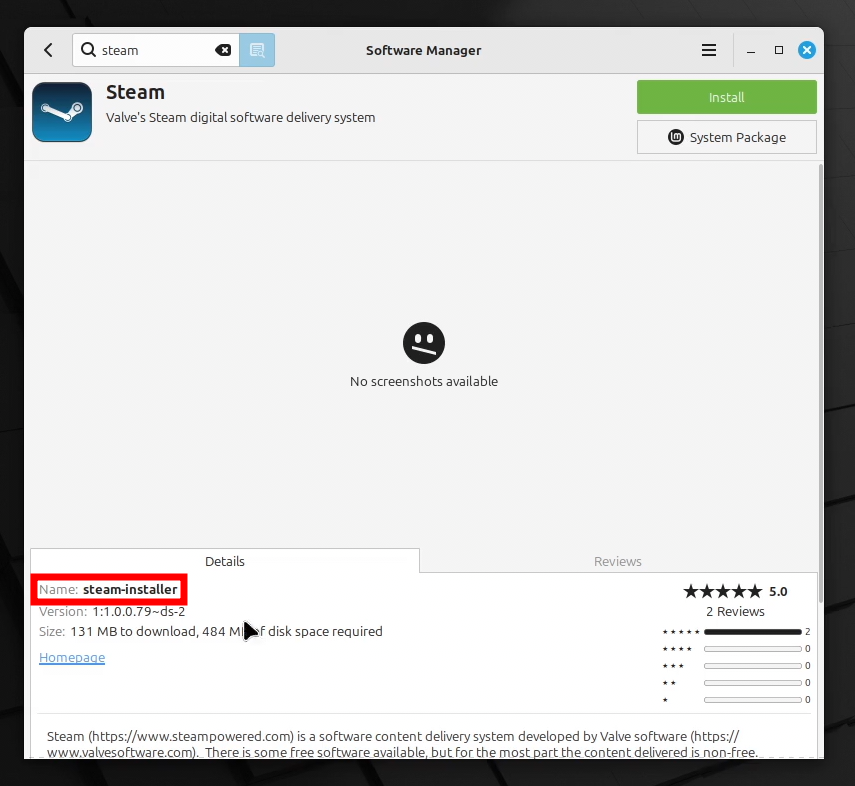
Click Install to install the package. There may be a pop-up window that notifies you that additional software will be installed. These are packages that Steam requires to function. Click Continue to accept and continue the installation.
Finally, authenticate yourself using your password or fingerprint to authorize the installation.
Wait for the Software Manger to install the package. You'll know it's finished when you see the Launch and Remove buttons in the place of the Install button.
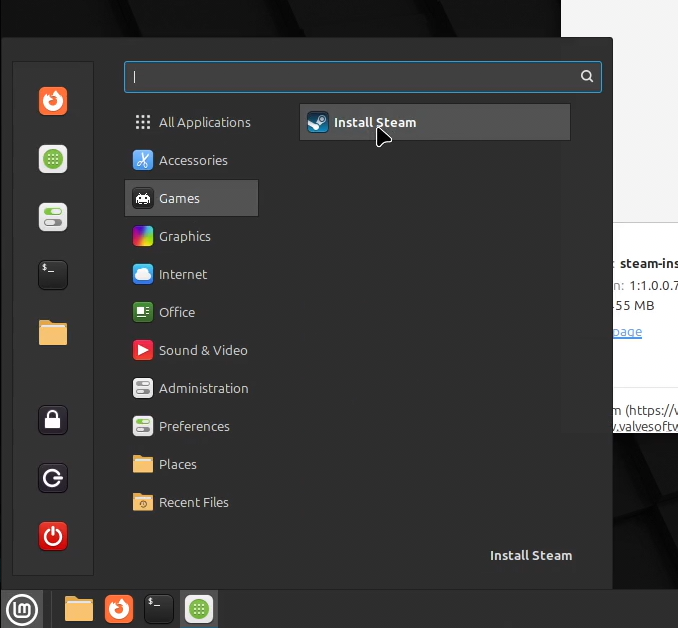
Click Launch to open the installer. If you've closed the Software Manager, you can find it in the menu within the Games category.
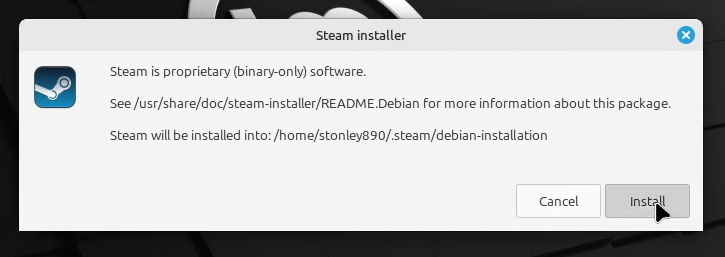
You will receive a dialog window warning you that you are about to install proprietary software. The Steam client is the proprietary software you are trying to install, so click Install to proceed.
Wait for Steam to be downloaded and installed. It may take a few minutes depending on the speed of your network connection.
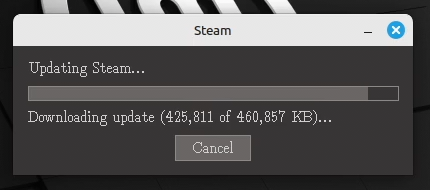
When that is complete, you'll reach the Steam login window. Congratulations! Steam is now installed. You can open it from the menu within the Games category.


Member discussion